

Reading the Seams: What Good Activewear Looks Like
Most activewear fails at the seams. Not the color, not the fabric weight, not the fit around the shoulders. The seams. A pair of leggings can look flawless on a hanger, sit right on the waist, pass the squat test in a dressing-room mirror, and still begin to unravel at the crotch or the inner thigh within a few weeks of regular wear. The tell is nearly always a line of stitching, and the reason is nearly always the same: the seam was built for a body standing still, not a body in motion.
Activewear is a strange category of clothing. It is engineered, in a way a cotton t-shirt is not. A t-shirt asks only that it drape and breathe. A running short asks that it hold shape through a stride, wick sweat away from skin, and survive the friction of two thighs passing each other several thousand times an hour. Those demands are mechanical, and the mechanics live in the seams.
What a Seam Is Actually Doing
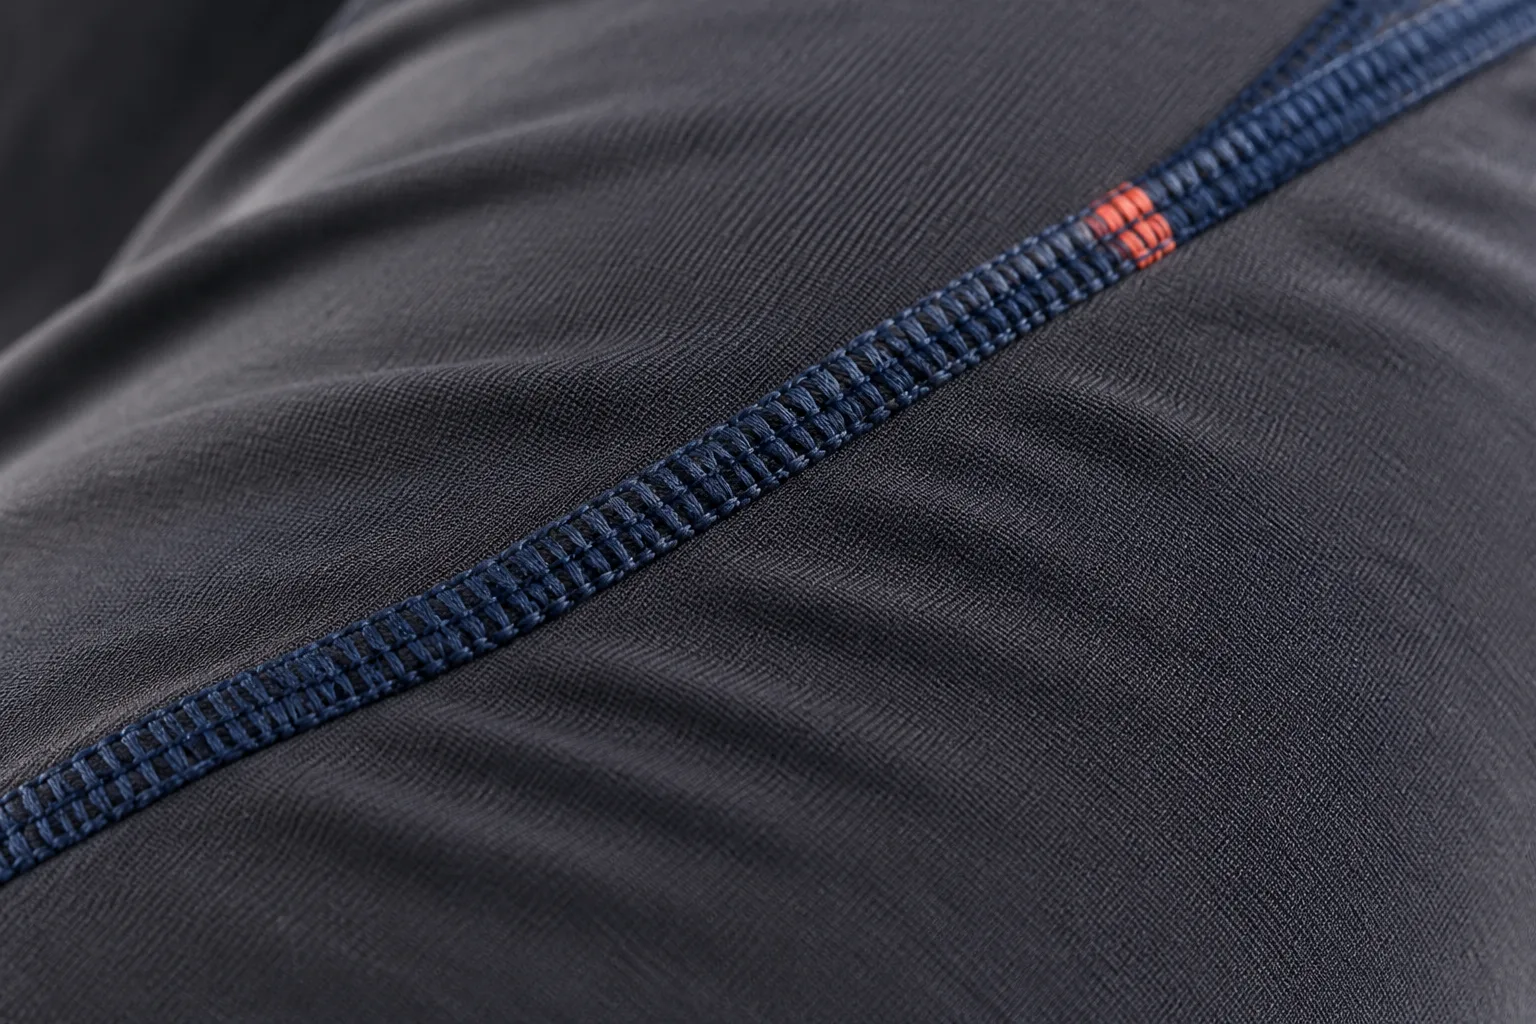
A seam is where two pieces of fabric are joined, and every join is a weak point. The thread, the stitch pattern, the allowance left inside, the way the edge is finished: each of these decides how the garment behaves under load. A flatlock seam, common on the inside of leggings and compression tops, joins two panels edge to edge and lies almost flush against the skin. A standard overlock seam, by contrast, folds the edges together and leaves a raised ridge. On a shirt collar that ridge is invisible. On the inner thigh of a running tight, it is a friction point that repeats with every step.
The flatlock is not automatically better, which is where a lot of shopping advice goes wrong. It is better where skin rubs against skin or against fabric. It is worse where the fabric needs to stretch hard in one direction, because the stitch itself can limit recovery. A well-made garment uses different seams in different places, chosen for the load each panel carries. That is the first thing a close look reveals: whether the seams change as the garment moves from the waist to the knee, or whether one stitch pattern has been stamped across the whole thing.
The Waistband Is a Seam in Disguise
The waistband gets discussed as a comfort feature, but read it as a seam and the logic sharpens. A wide elastic band bonded or stitched to the body of the tight creates a hard transition line. When the wearer bends, sits, or twists, that line either digs in or rolls. The good waistbands are constructed so the transition is gradual: a shaped panel, a soft covered elastic, a seam placed where the body does not fold sharply. The bad ones announce themselves within the first hour, and they announce themselves at the seam.
A useful test in the fitting room: sit down, then stand, then twist to look over one shoulder. A waistband that has migrated, folded, or created a visible ridge under the fabric has told the whole story. No amount of advertised "four-way stretch" compensates for a seam line that cannot follow a spine.
Gussets and the Crotch Problem
The gusset is the small diamond or oval of fabric sewn into the crotch of leggings, and it exists for one reason: to move the seam away from the point of maximum friction and tension. A garment without one concentrates four seams at a single junction, and that junction takes the full load of every stride. It is the first place thin fabric goes translucent and the first place stitching gives.
A gusset does not guarantee quality. Its shape, its size, and how its edges are finished all matter. A token gusset, stitched in with a rough overlock edge, simply relocates the problem a centimeter to the left. The well-built version is generous, flat-finished, and placed so the seams run along lines that do not crease when the leg lifts. Run a thumb along it. If the edge feels like a cord, the garment will feel like a cord after a few miles.
Why Cheap Activewear Fails First at the Seam
Fabric gets the marketing attention, but fabric is the easy part. Mills produce good synthetic knits at scale, and a brand can buy a serviceable four-way stretch without much difficulty. Seam construction is where costs actually hide. It takes time and trained operators to flatlock a curved panel cleanly. It takes better thread, and more of it, to use a stitch density that holds under repeated stretch. A factory can shave minutes off each garment by simplifying the seam plan, and those minutes are invisible on the rack.
This is why two pairs of leggings can feel identical in the hand and behave completely differently after a month. The difference is not a secret fabric technology. It is whether someone decided the inner-thigh seam deserved the slower, more expensive treatment.
Turning the Garment Inside Out
The single most useful habit for judging activewear is to turn it inside out before trying it on. The outside is designed to sell. The inside is where the engineering shows. Look for loose thread tails, uneven stitch lines, puckered fabric along a seam, and stitches that skip. Look for whether the seam allowance has been trimmed and finished or left to fray. Look at the crotch and inner thigh specifically, because that is where the maker's priorities are most visible.
Then stretch a seam gently between two fingers and let it snap back. A good seam recovers with the fabric. A poor one either stays stretched or pulls the fabric into a ripple. That ripple is the fabric fighting a stitch that will not move with it, and it is the beginning of every seam failure.
The Seams on a Running Short
Shorts carry a different seam map. The side seam is the one to watch, because it runs the length of the garment and takes the swing of the leg. A side seam with a slight curve, cut to follow the hip, moves better than a straight line. The hem is the other tell: a raw or bonded hem on a short that will be washed weekly will begin to lift, and a stitched hem with a small amount of give will outlast it.
Liner construction deserves a look too. A built-in brief creates a second set of seams against the skin, and those seams see more friction than almost any other part of the garment. If the liner's leg openings are finished with a firm elastic, the short will chafe long before the outer fabric shows wear.
Bonded Seams and Their Limits
Bonding, which glues fabric panels together instead of stitching them, has become a marker of premium activewear. It produces a beautifully smooth surface with no thread and no ridge. It also has a finite life. Bonded seams depend on heat, pressure, and adhesive, and repeated washing and stretching degrade all three. A bonded hem can look impeccable for a season and then begin to peel at one corner, and once it peels it cannot be repaired the way a stitch can.
Bonding earns its place in specific spots, such as a smooth waistband edge or a laser-cut hem on a garment that will be treated gently. As a wholesale replacement for stitching across a high-stress area, it is a bet against time. A shopper who plans to wear a piece three times a week for two years should weight that bet accordingly.
Thread, Tension, and the Small Signs
Thread quality rarely gets mentioned, and it matters. A soft, fine thread in a seam that stretches will break or abrade faster than a slightly heavier one. Woolly nylon thread, common in swimwear and some activewear, has give built into it, which lets the seam move with the fabric. When a seam pops on a piece of activewear, the fabric usually has not torn; the thread has given way, or pulled through the knit because the stitch was too tight.
The small signs accumulate. A slight grin of fabric pull at the seam line. A stitch that has gone shiny from abrasion. A tiny loop of thread standing up on the surface. None of these ruin a garment on day one, and all of them predict where it will fail. Reading them early is the difference between replacing a piece on a schedule and replacing it in the middle of a training block.
What the Seams Say About the Price
Price and seam quality correlate loosely, and the exceptions matter. Plenty of expensive activewear is expensive because of branding, retail location, or a celebrity name, while the seam plan is unremarkable. Plenty of mid-priced gear is built with real attention to construction because the brand competes on durability rather than image. The label on the outside tells a shopper almost nothing. The stitching on the inside tells most of the story.
That is the practical case for the inside-out habit. It takes about thirty seconds and it filters out a large share of the pieces that will disappoint. A garment with clean, flat, deliberately placed seams is a garment someone thought about. A garment with one stitch pattern stamped across every panel is a garment someone costed.
The Repair Question
Seams also determine whether a garment can be saved. A popped stitch on a stitched seam can be re-sewn by hand or by a tailor, often invisibly, for a modest cost. A failed bonded seam usually cannot. This is a real consideration for anyone who keeps gear for years rather than a season, and it tilts the choice toward stitching in the places that see the most stress.
The same logic applies to alterations. A stitched hem can be shortened. A bonded one cannot be let out or taken up without specialized equipment. Activewear that is meant to be worn hard and kept a long time benefits from being built in a way that tolerates a second life.
The Fitting-Room Sequence That Works
Turn the piece inside out and read the seams from crotch to waistband. Stretch the inner-thigh seam and watch it recover. Sit, stand, and twist to check the waistband transition. Bend the knee and watch whether the seam over the kneecap ripples. Then, and only then, look at the outside. The order matters, because the outside is persuasive and the inside is honest.
A shopper who does this consistently will start to notice a pattern: the pieces that survive a year of hard wear are the ones whose seams were unremarkable to look at and impeccable to inspect. The stitching does not shout. It simply holds, stride after stride, wash after wash, until the garment has earned its place in the rotation and the next one is bought on the same evidence.